JSP Introduction
Simple JSP(Example-1)
JSP Err.Pag.(Example-2)
JavaBeans in JSP
JavaBeans(Example-3)
JSP Custom Tags
CustomTag(Example-4)
Design Patterns
Design Patt.(Example-5)
Bookmark This Site
|
Developing JSP Custom Tags - Project (Continue...)
|
Introduction
|
Custom tags are distributed in a tag library, which defines a set of related custom tags and contains the objects that implement the tags. The object that implements a custom tag is called a tag handler.
- JSP technology defines two types of tag handlers: simple and classic.
- Simple tag handlers can be used only for tags that do not use scripting elements in attribute values or the tag body.
- Classic tag handlers must be used if scripting elements are required.
CLICK HERE to download this complete example (zip file)
|
|
|
Steps to deploy and run this JSP Custom Tags Project
|
- Write a java file and name it as CopyrightTag.java
- Write a jsp file and name it as CopyrightTag.tld
- Write a html file and name it as CopyrightTag.jsp
- Set the path in the command prompt
-
set path=.;C:\progra~1\java\j2sdk1.5.0\bin;C:\Sun\AppServer\bin;
-
Set classpath=.;C:\progra~1\java\j2sdk1.5.0\lib;C:\Sun\AppServer\lib\j2ee.jar;
(OR)
Set the path in the system itself. CLICK HERE for details
-
Now compile the CopyrightTag.java. CLICK HERE to see how to compile
-
After the java programs are compiled successfully, you can close the command prompt.
- Now goto Start -> Programs -> Sun Microsystems ->Application Server PE -> Start Default Server (wait till it start and then press any key). CLICK HERE to see how to Start the Server
-
Next goto Start -> Programs -> Sun Microsystems ->Application Server PE -> Deploytool. CLICK HERE to see how to Start the Deploytool
Now in the deploytool,
- Goto File ->New -> Application
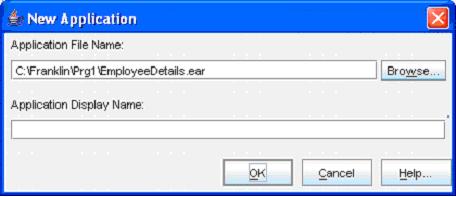
(Click the Browse button)
-
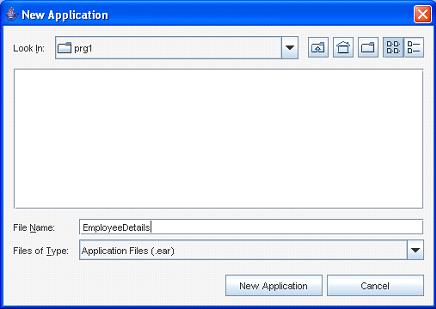
(Select the folder in the Look In dropdown box, and then give a file name JspCustomTags. Next click the New Application button)
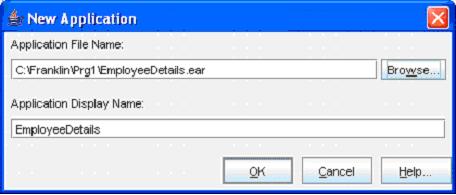
(Click the OK button)- Now goto File -> Save to save the file
- Next, goto File -> New -> Web Component
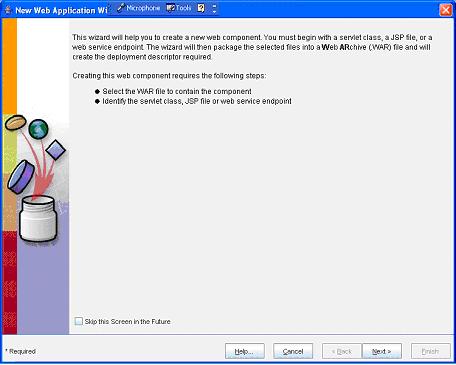
(Click Next button)
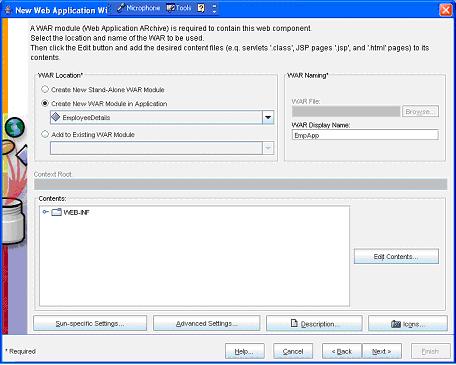
(Enter the WAR Name as TagApp and then click the Edit Contents
button)

(Select all the .class, .jsp , .tld and .html files and click the Add button)
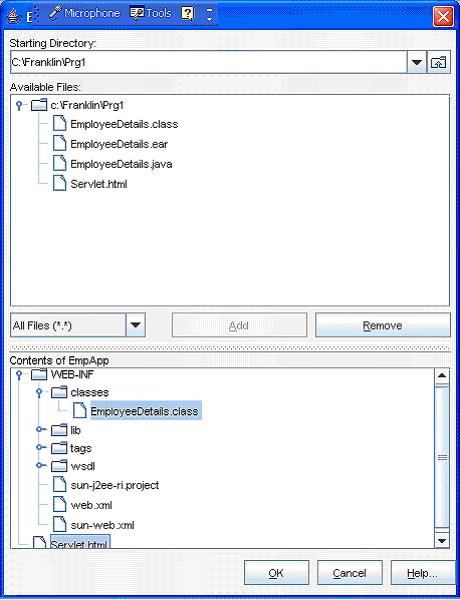
(Now click the OK button)
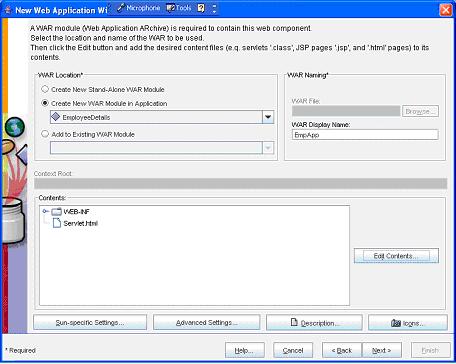
(Now click the Next button)
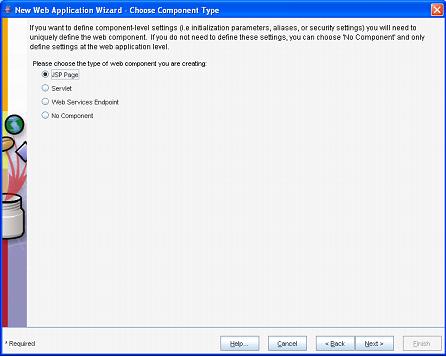
(Now select the JSP Page option button and then click the Next button)
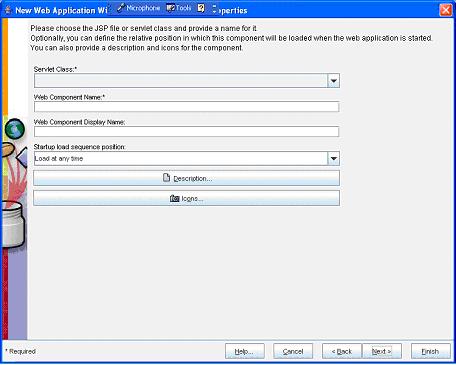
(Now select the JspCustomTags from the Servlet Class dropdown box)
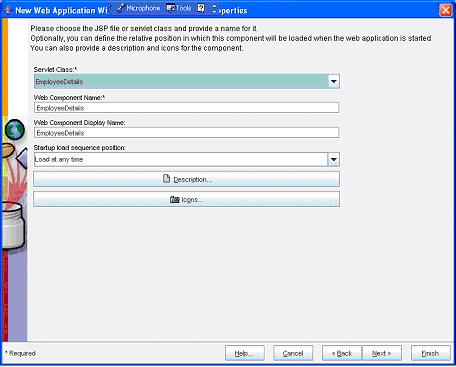
(Now select the Next button)
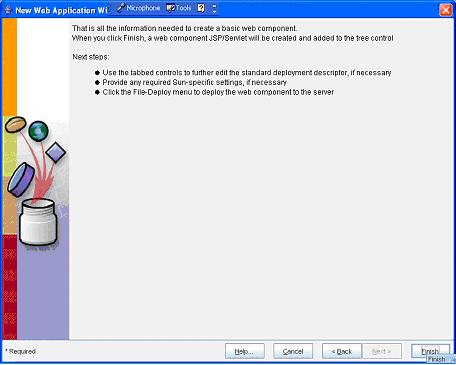
(Now select the Finish button)
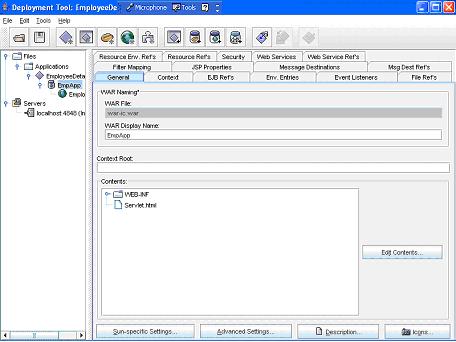
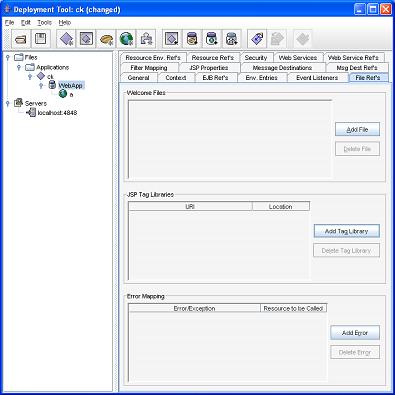
(Now select the TagApp in the left pane and select the General tab in the right pane. Here give a name custom_tag in the Context Root text box)- Now select the File Refs tab in the right side. Here click the Add Tag Library button and then in the URI type /CopyrightTag.tld and in the Location type /web-inf/CopyrightTag.tld
- Now goto File ->Save
- Next goto Tools -> Deployee
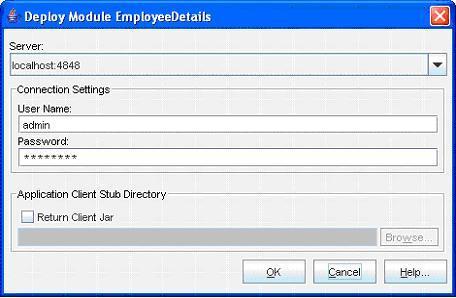
(Enter the User Name as admin and Password as password (CLICK HERE for password). Next click the OK button)
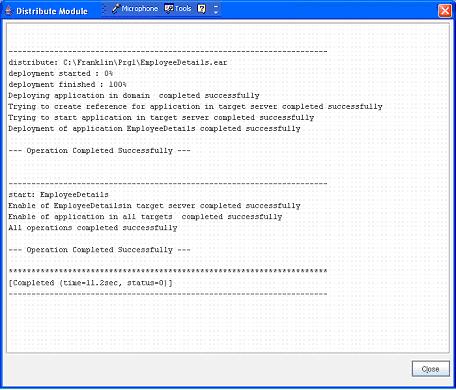
(Now a message --- Operation Completed Successfully --- must display. Next click the Close button)- Next goto File -> Exit to close it
- Now open an Internet Explorer and type the address http://localhost:8080/custom_tag/CopyrightTag.jsp
- Program completed Successfully
- To stop the server goto Start -> All Programs -> Sun Microsystems -> Application Server PE -> Stop Default Server. CLICK HERE to see how to Stop the Server
|
|
|
Click for Next Topic
|
|
|