Securing Web App.
Security... (Example-1)
Bookmark This Site
|
Securing Web Applications
|
Introduction
|
-
A Web application must addresses the issues relating to security because such applications deal with data that are used by the organizations to carry out their routine operations.
-
Security threats are broadly categorized as follows:
-
Access to confidential information by unauthorized users: For example, a person accessing the confidential Personal Identification Number(PIN) number of another customer without their consent.
-
Unauthorized use of resources: For example, a person using the bank account of a customer without authorization from the customer.
-
Malicious Code: Malicious codes are programs written by hackers to compromise the security of Web applications.
|
|
|
Restricting Resource Usage
|
-
Now goto Start -> Programs -> Sun Microsystems ->Application Server PE -> Start Default Server (wait till it start and then press any key). CLICK HERE to see how to Start the Server
-
Open an Internet Explorer to run the J2EE application server Admin Console by typing the url http://localhost:4848/asadmin in the address bar
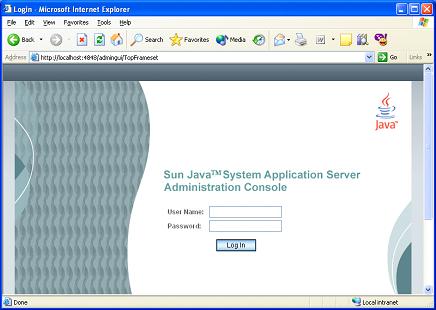 -
Enter the User Name and Password and then click the Login button (Here give admin as User Name and password as Password) (CLICK HERE for User Name and Password)
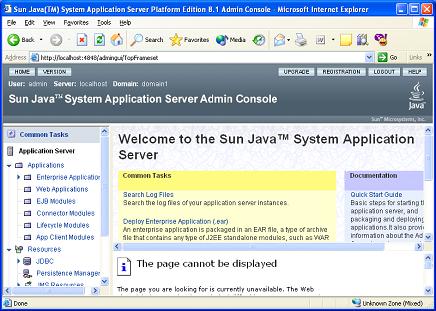 -
Now expand the Configuration in the left side pane
 -
Now expand the Security in the left pane
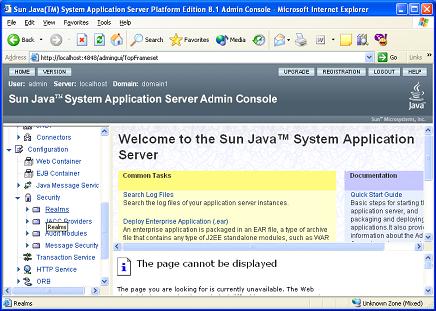 -
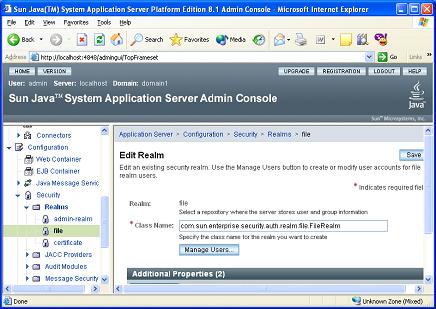
Now click the Realms in the left pane
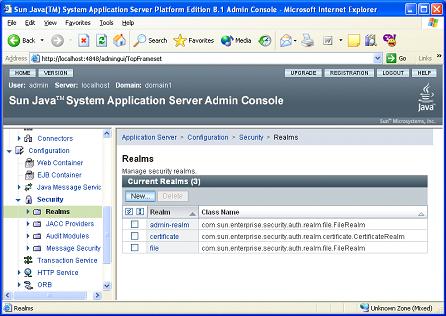 -
Realms are the collection of users in the J2EE 1.4 Application Server that are authenticated by similar mechanism. For example, users authenticated by digital certificates come under the certificate realms
-
Click the file link, to display the Edit Realm page of the file realm
 -
Now click the Manage Users button to display the File Users page
 -
Now click the New button in the File Users
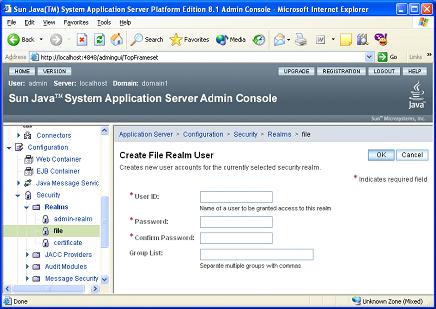 -
Now enter the user information in the User Id, Password, Retype Password, and Group List text boxes in the Create File Realm User page and click OK button (in the Group List enter "administrator,user")
 -
Now click the Close button
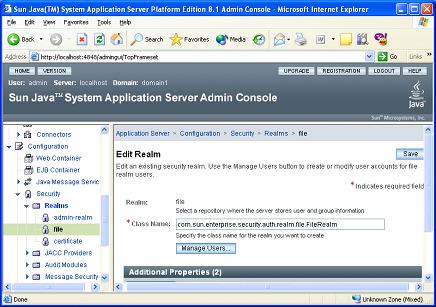 -
Now click the Save button
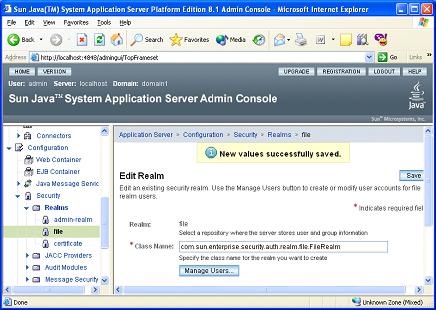 -
Creating authorized user completed Successful. Now click the Logout button in the top
|
|
|
Click for Next Topic
|
|
|