Securing Web App.
Security... (Example-1)
Bookmark This Site
|
Securing Web Applications - Project (Continue...)
|
Introduction
|
-
To counter security threats, you can implement different security techniques, such as:
-
Authentication: Identifies a user.
-
Authorization: Specifies the rights assigned to an authenticated user to access resources of a Web application.
-
Data Integrity: Ensures that data is not modified while being transferred between the server and the client.
-
Auditing: Secures Web applications by maintaining a record of the rights assigned to different types of Web users.
CLICK HERE to download this complete example (zip file)
|
|
|
Steps to deploy and run Securing Web Application Project (Continue ...)
|
-
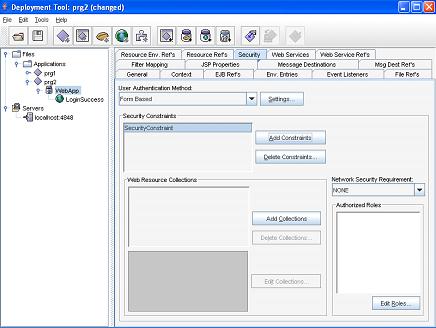
Next, click the Add Constraints button to add a security constraint
 -
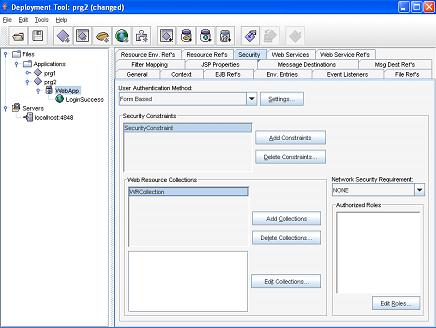
Click the Add Collections button to add a new Web Resource Collection (WRCollection)
 -
Now, select the WRCollection in the Web Resource Collections section
 -
Now click the Edit Collections button in the Web Resource Collections section
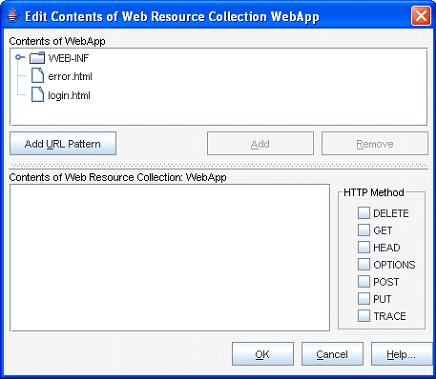 -
Click the Add URL pattern button to open the Add URL Pattern dialog box
 -
Type /* in the URL Pattern text box
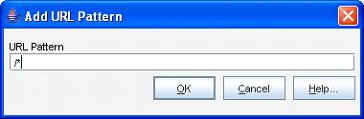 -
Click the OK button
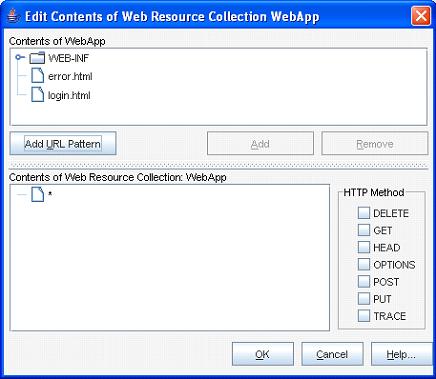 -
Now the selected URL pattern is displayed in the Contents of Web Resource Collection: WebApp panel. Now click the OK button
 -
Now click the Edit Roles button to open the Authorized Roles For SecurityConstraint dialog box
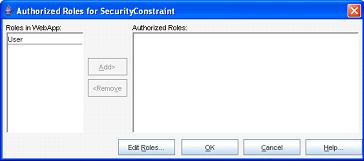 -
Select the security role as User in the left pane and click the Add button to add in the Authorized Roles pane
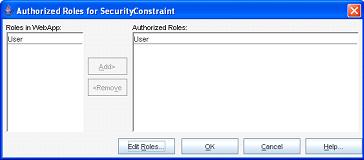 -
Click the OK button
-
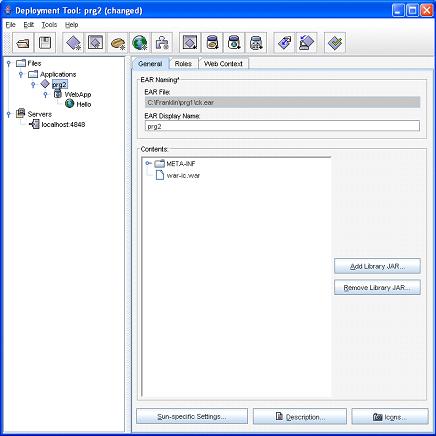
Select the SecurityLogin (application name) in the left pane.
 -
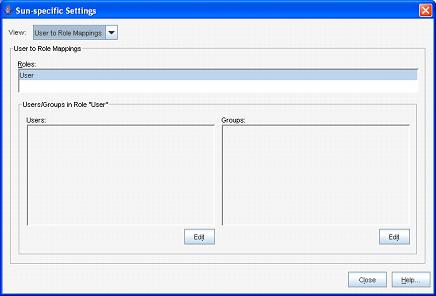
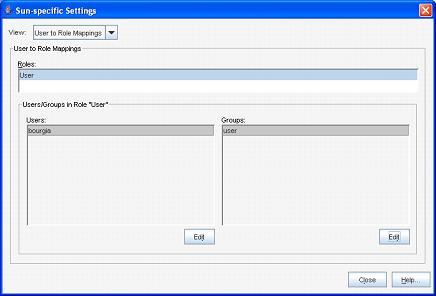
Now press Alt+s or click the Sun-specific Settings
button in the right pane. Now a sun-specific Settings will open. Here, in the View drop-down menu select User to Role Mappings. Also in the Role text field select the role name
 -
Now click the Edit button in the Users side. Here, select the Available Users in the list and click the Add button to add in the right side
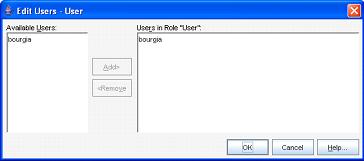 -
Click the OK button
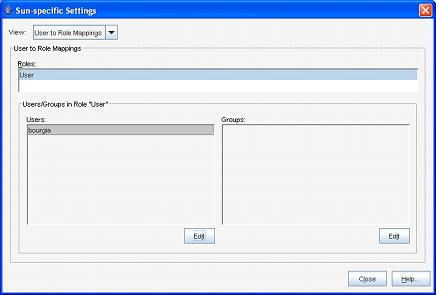 -
Now click the Edit button in the Groups side
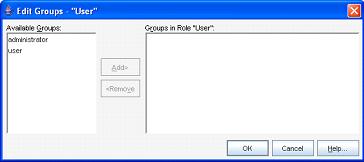 -
Now, select the user from the Available Groups session and then click the Add button to add in the right side
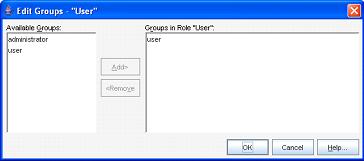 -
Click the OK button
 -
Now, click the Close button
-
- Now goto File ->Save
- Next goto Tools -> Deployee
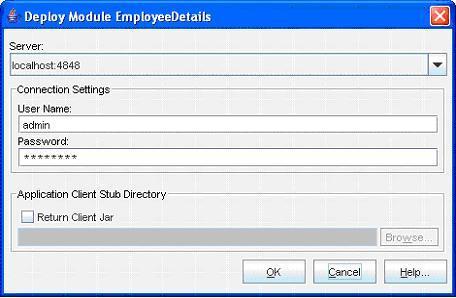
(Enter the User Name as "admin" and Password as "password" (CLICK HERE for password). Next click the OK button)
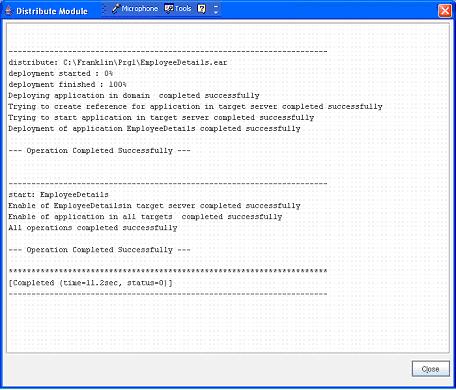
(Now a message --- Operation Completed Successfully --- must display. Next click the Close button)- Next goto File -> Exit to close it
- Now open an Internet Explorer and type the address http://localhost:8080/login_example/loginpage
- Program completed Successfully
- To stop the server goto Start -> All Programs -> Sun Microsystems -> Application Server PE -> Stop Default Server. CLICK HERE to see how to Stop the Server
|
|
|
Click for Next Topic
|
|
|