Servlet Introduction
Servlet (Example-1)
Life Cycle Events
Con.Ini.Par.(Example-2)
Lif.Cyc.Evt.(Example-3)
Err. & Exce.(Example-4)
Filters (Example-5)
Servlet Hints
Bookmark This Site
|
Implementing Context Initialization Parameter
|
Introduction
|
Example for Implementing Context Initialization Parameter
CLICK HERE to download this complete example (zip file)
|
|
|
Create a servlet
|
-
import java.io.*;
import javax.servlet.*;
import javax.servlet.http.*;
import java.util.*;
public class InitParameterDemo extends HttpServlet
{
String strName;
String strValue;
Enumeration enu;
public void init() throws ServletException
{
ServletContext ctx = getServletContext();
try
{
enu = ctx.getInitParameterNames();
while (enu.hasMoreElements())
{
strName = (String)enu.nextElement();
strValue = ctx.getInitParameter(strName);
}
}
catch(Exception e)
{
ctx.log(e.toString());
}
}
public void doGet(HttpServletRequest req, HttpServletResponse res) throws ServletException, IOException
{
res.setContentType("text/html");
PrintWriter out = res.getWriter();
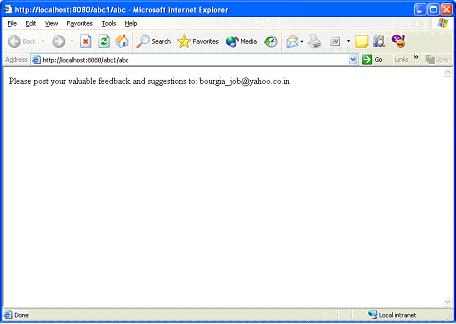
out.println("Please post your valuable feedback and suggestions to: "+strValue );
}
}
Download InitParameterDemo.java
|
|
Specify the initialization parameters
|
-
Write a java program and name it as InitParameterDemo.java
-
Set the path in the command prompt
-
set path=.;C:\progra~1\java\j2sdk1.5.0\bin;C:\Sun\AppServer\bin;
-
Set classpath=.;C:\progra~1\java\j2sdk1.5.0\lib;C:\Sun\AppServer\lib\j2ee.jar;
(OR)
Set the path in the system itself. CLICK HERE for details
-
Now compile the InitParameterDemo.java. CLICK HERE to see how to compile
-
Goto Start->Programs->Sun Microsystems->Application Server PE->Start Default Server (Wait till it start and then press any key). CLICK HERE to see how to Start the Server
-
Goto Start->Programs-> Sun Microsystems->Application Server PE->Deploytool. CLICK HERE to see how to Start the Deploytool
- Goto File ->New -> Application Note: Inserted of EmployeeDetails use InitParameterDemo
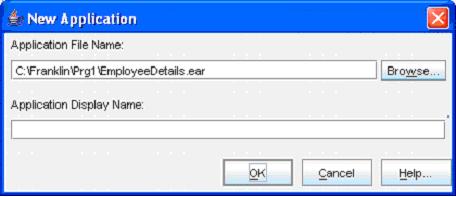
(Click the Browse button)
-
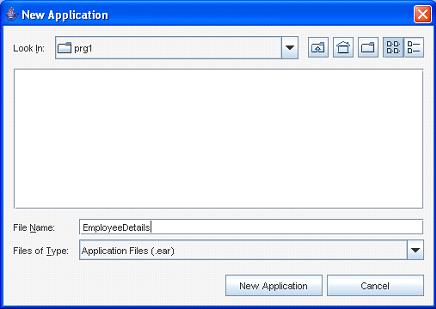
(Select the folder in the Look In dropdown box, and then give a file name InitParameterDemo. Next click the New Application button)
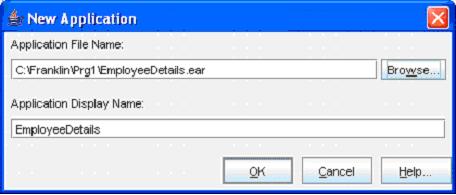
(Click the OK button)- Now goto File -> Save to save the file
- Next, goto File -> New -> Web Component
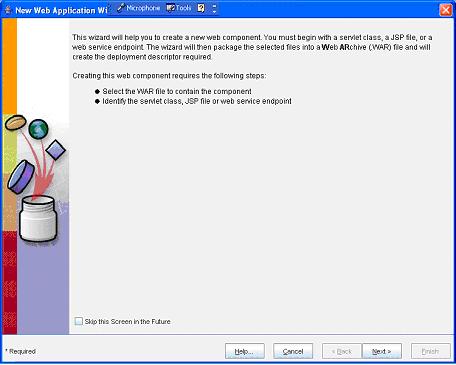
(Click Next button)
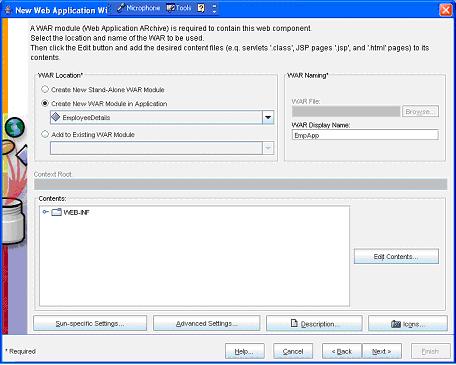
(Enter the WAR Name as EmpApp and then click the Edit Contents
button)

(Select all the .class, .jsp , .tld and .html files and click the Add button)
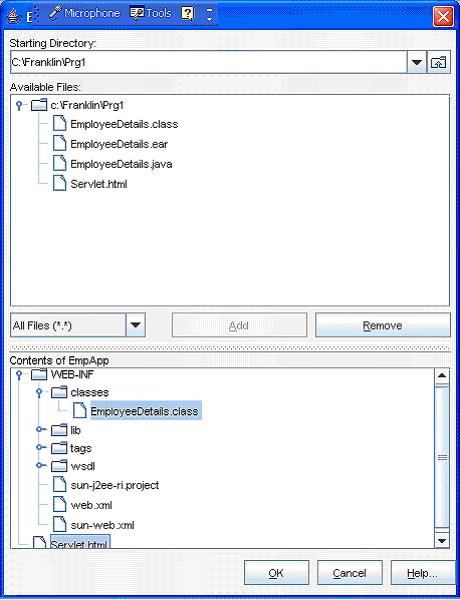
(Now click the OK button)
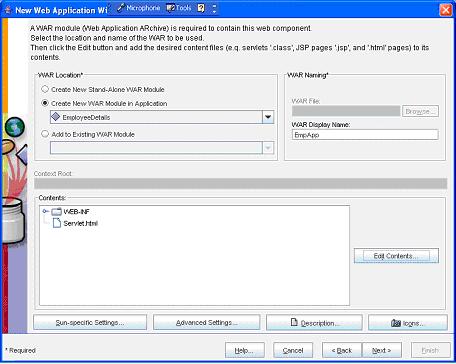
(Now click the Next button)
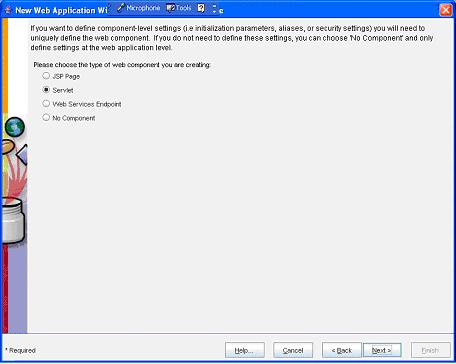
(Now select the Servlet option button and then click the Next button)
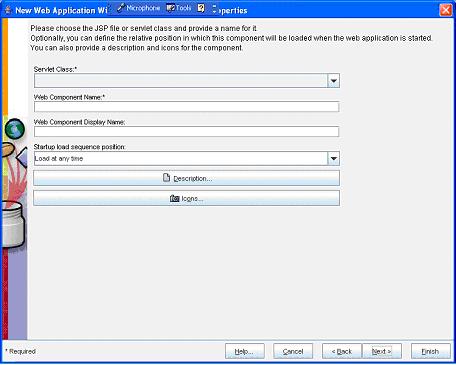
(Now select the InitParameterDemo from the Servlet Class dropdown box)
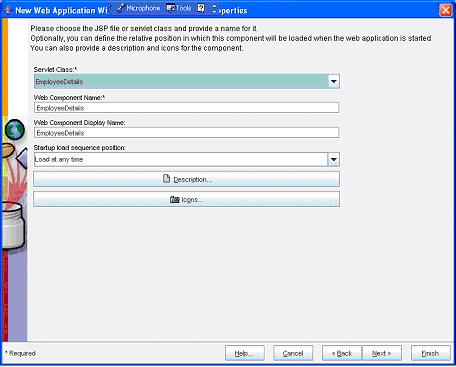
(Now select the Next button)
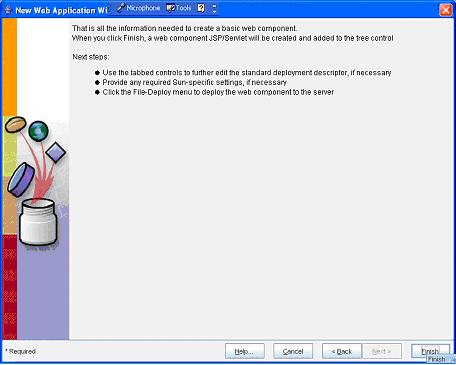
(Now select the Finish button)
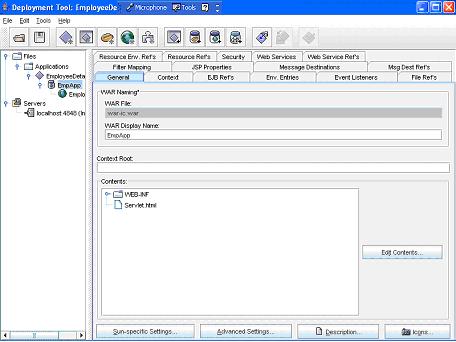
(Now select the EmpApp in the left pane and select the General tab in the right pane. Here give a name example2 in the Context Root text box)- Next select the InitParameterDemo in the right side
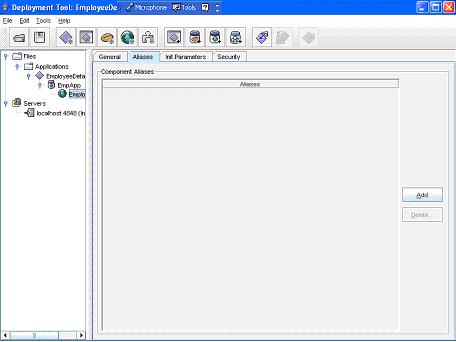
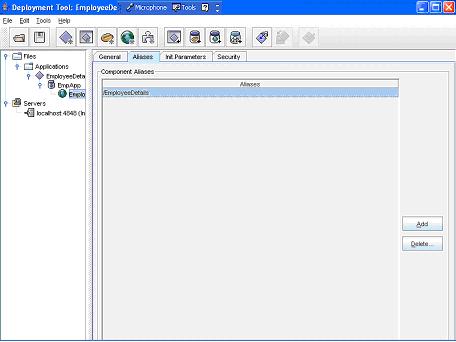
(Now select the InitParameterDemo in the left pane and then select the Aliases tab in the right pane. Next select the Add button)

(Now add a name as InitParameterDemo)
 - Now select WebApp in the left pan and then select the context tab in the right pane
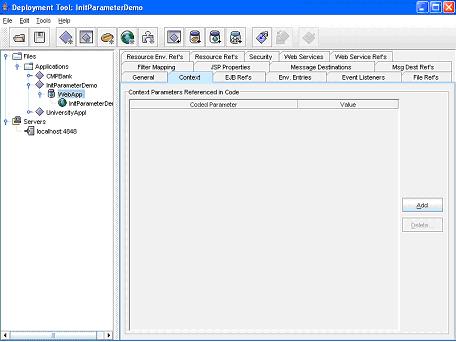
- Click the Add button to add a new row in the Context Parameters Referenced in Code pane
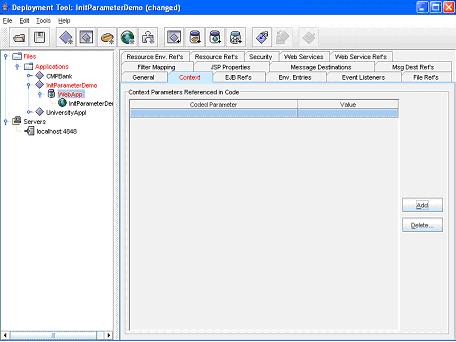
- Type the name of the Coded Parameter as email_id and the value as bourgia_job@yahoo.co.in in the value column
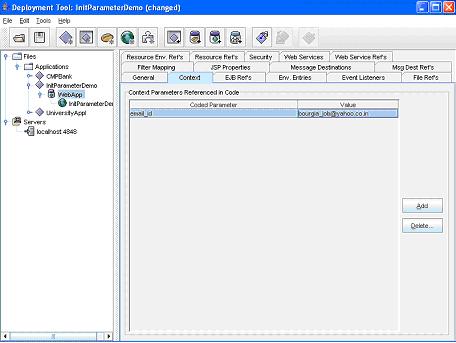
- Select the File->Save command to save the web module
- Select the InitParameterDemo in the right pane
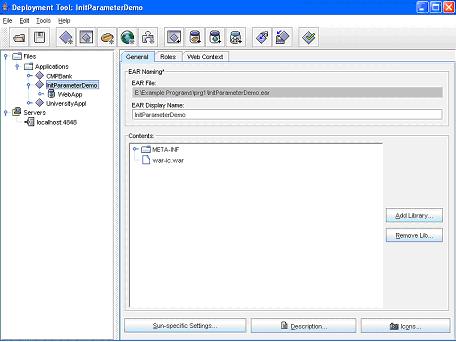
- Now goto File ->Save
- Next goto Tools -> Deployee
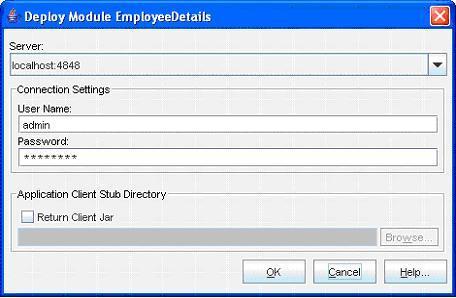
(Enter the User Name as admin and Password as password (CLICK HERE for password). Next click the OK button)
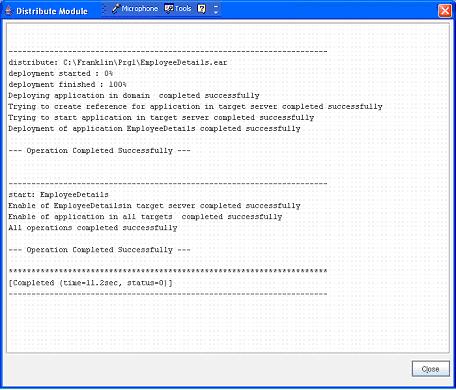
(Now a message --- Operation Completed Successfully --- must display. Next click the Close button)- Next goto File -> Exit to close it
- Now open an Internet Explorer and type the address http:// localhost:8080/example2/InitParameterDemo
- Program completed Successfully
- To stop the server goto Start -> All Programs -> Sun Microsystems -> Application Server PE -> Stop Default Server. CLICK HERE to see how to Stop the Server
|
|
|
Click for Next Topic
|
|
|