EJB Introduction
Program. Restrictions
Stateless Session Bean
Stateless ...(Example-1)
Stateful Session Bean
Stateful ... (Example-2)
Entity Beans
BMP Entity Beans
Config. DB (Example-3)
BMP (Example-4)
Bookmark This Site
|
Stateful Session Bean - Complete Project (Continue ...)
|
Introduction
|
- Stateful session beans are appropriate if any of the following conditions are true:
-
The beans state represents the interaction between the bean and a specific client.
-
The bean needs to hold information about the client across method invocations.
-
The bean mediates between the client and the other components of the application, presenting a simplified view to the client.
-
Behind the scenes, the bean manages the work flow of several enterprise beans.
- Types of Enterprise Beans are
-
- Session Beans
- Stateless Session Beans
- Stateful Session Beans
- Entity Beans
- Bean Managed Persistent (BMP) Entity Beans
- Container Managed Persistent (CMP) Entity Beans
- Message-Driven Bean
CLICK HERE to download this complete example (zip file)
|
|
|
Steps to deploy and run this Stateful Session Bean - Example, Continue ...
|
- Next, goto File -> New -> Web Component
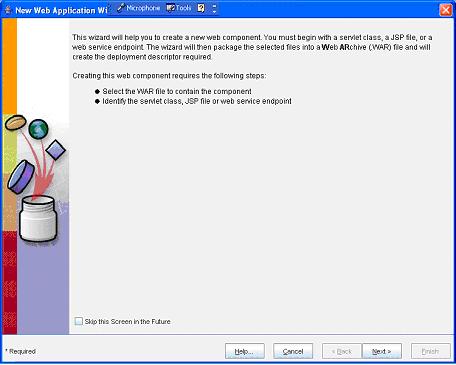
(Click Next button)
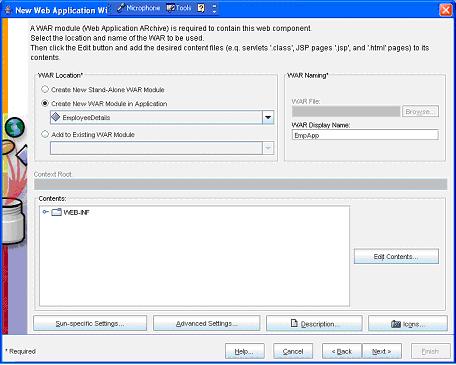
(Enter the WAR Name as UniversityWAR because the class package name is University and then click the Edit Contents
button)

(Select only CourseCart.jsp and Index.jsp files and click the Add button)
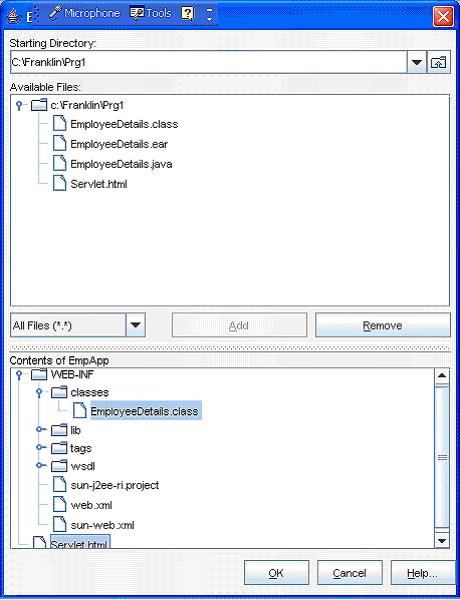
(Now click the OK button)
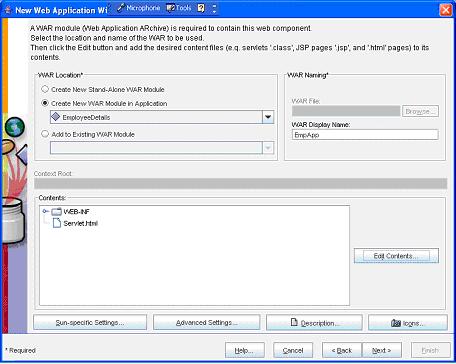
(Now click the Next button)
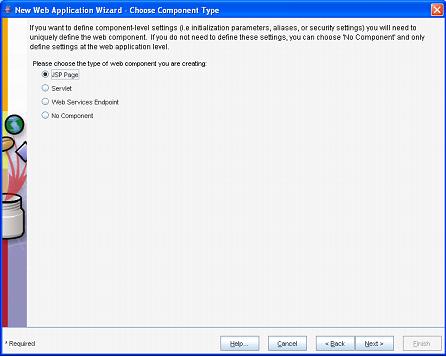
(Now select the JSP Page option button and then click the Next button)
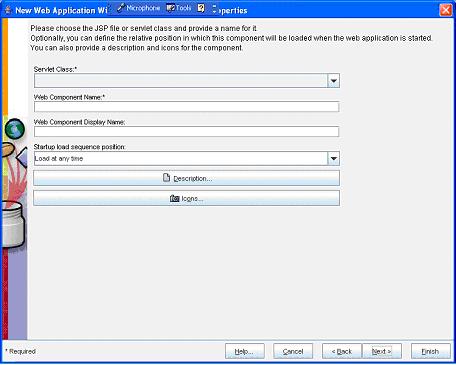
(Now select the Index.jsp from the Servlet Class dropdown box)
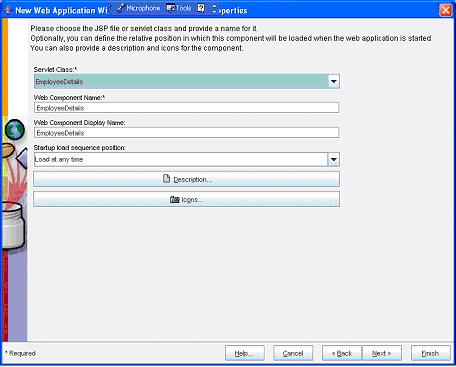
(Now select the Next button)
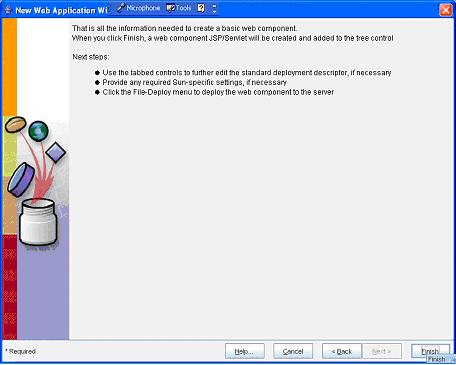
(Now select the Finish button)
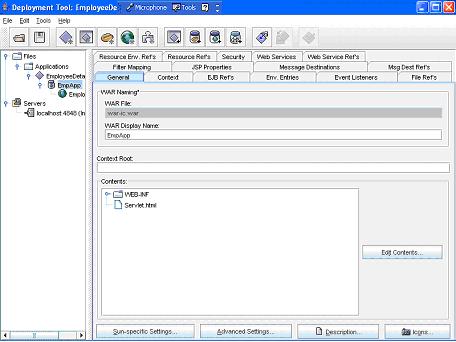
(Now select the UniversityWAR in the left pane and select the General tab in the right pane. Here give a name univ_details in the Context Root text box)- Next select the StatefulBeanExample in the left side
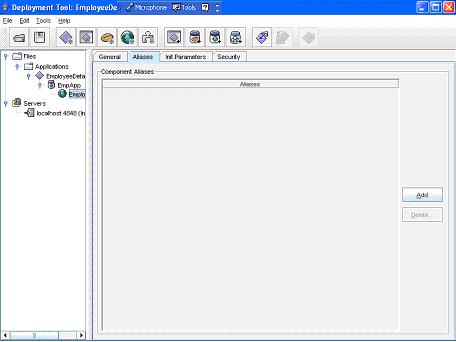
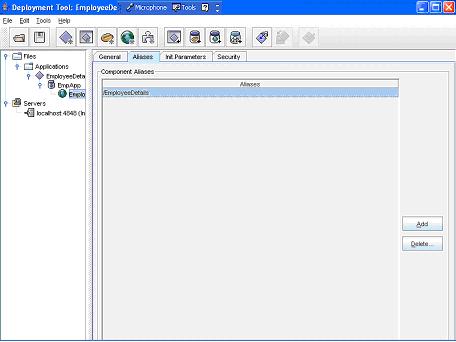
(Now select the StatefulBeanExample in the left pane and then select the Aliases tab in the right pane. Next select the Add button)

(Now add a name as University)
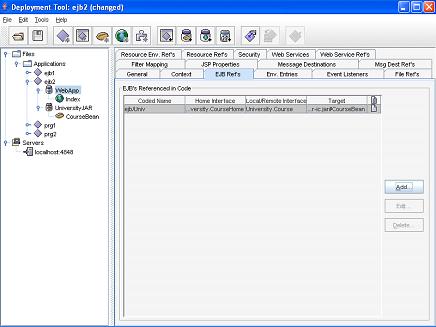
 - Now select the UniversityWAR in the right pane and then select the EJB Refs tab in the right pane

- Now click the Add button
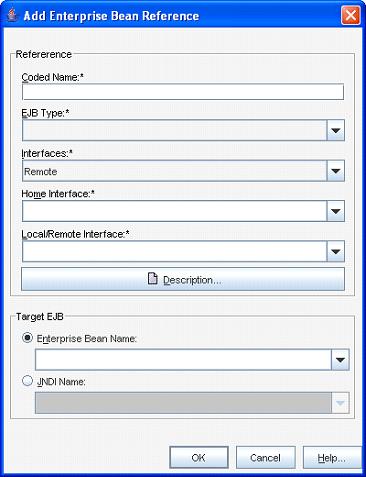
- In the Coded Name type ejb/Univ (name given as in the lookup()). Select the EJB Type as Session. Select the Interface as Remote. Select the Home Interface as University.CourseHome. Select the Local Remote Interface as University.Course. Now select the Enterprise Bean Name ratio button in the Target EJB as ejb-jar-ic#CourseBean
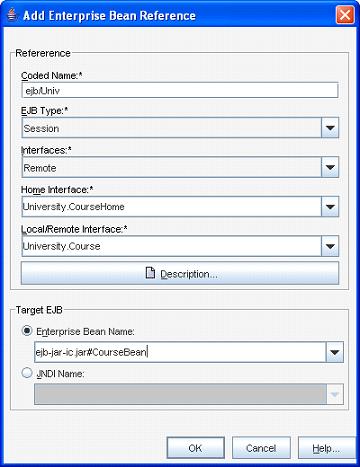
- Now click the OK button
- Now goto File ->Save
- Next goto Tools -> Deployee
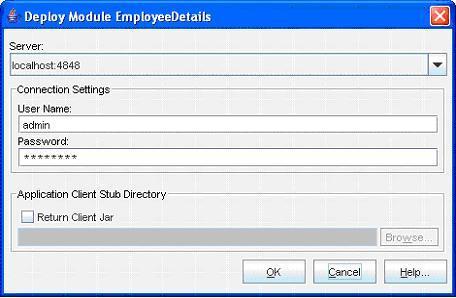
(Enter the User Name as admin and Password as password (CLICK HERE for password). Next click the OK button)
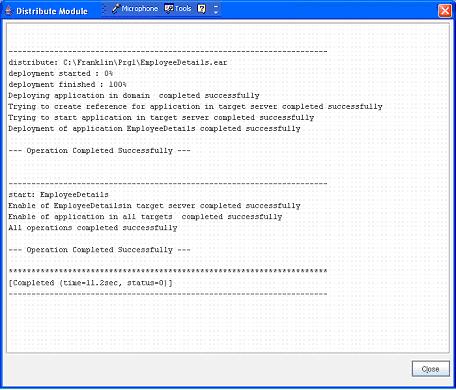
(Now a message --- Operation Completed Successfully --- must display. Next click the Close button)- Next goto File -> Exit to close it
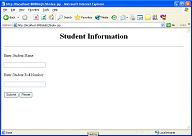
- Now open the Internet Explorer and type the address http://localhost:8080/univ_details/Index.jsp
 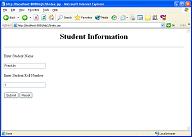  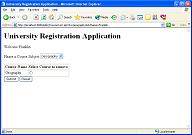
- Program completed successfully
- To stop the server goto Start -> All Programs -> Sun Microsystems -> Application Server PE -> Stop Default Server. CLICK HERE to see how to Stop the Server
|
|
|
Click for Next Topic
|
|
|