EJB Introduction
Program. Restrictions
Stateless Session Bean
Stateless ...(Example-1)
Stateful Session Bean
Stateful ... (Example-2)
Entity Beans
BMP Entity Beans
Config. DB (Example-3)
BMP (Example-4)
Bookmark This Site
|
Configure a Data Source with the J2EE Application Server
|
Introduction
|
Data that is shared between web components and is persistent between invocations
of a web application is usually maintained in a database. Web applications
use the JDBC API to access relational databases.
|
|
|
Configure a Data Source with the J2EE Application Server
|
- First check whether Microsoft SQL Server 2000 Driver for JDBC is installed in C:\Program Files\. If not installed then install it and then follow the steps
- Make the driver accessible to the common class loader. For s\this follow the steps
- Copy all the .jar (msbase.jar, mssqlserver.jar, msutil.jar) file from C:\Program Files\Microsoft SQL Server 2000 Driver for JDBC\lib\ and paste it into E:\Sun\AppServer\domains\domain1\lib\ (or) copy its class files and paste into E:\Sun\AppServer\domains\domain1\lib\ext\
- Now restart the Application Server (Start->Program Files->Sun Microsystem-> Application Server PE->Stop Default Server)
- Make the driver accessible to the system class loader
- In the Admin Consoles tree view, select Application Server from the left pane
- Select the JVM Settings tab in the right side
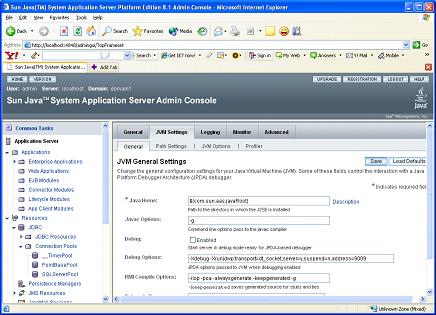
- On the JVM Settings page, click the Path Settings tab
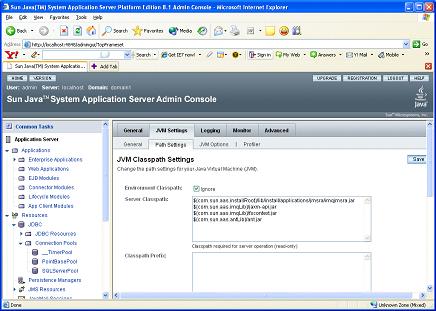
- Now in the Classpath Suffix field, enter the fully-qualified path name for the drivers JAR file as follows
-
${com.sun.aas.installRoot}/domains/domain1/lib/mssqlserver.jar
-
${com.sun.aas.installRoot}/domains/domain1/lib/msutil.jar
-
${com.sun.aas.installRoot}/domains/domain1/lib/msbase.jar
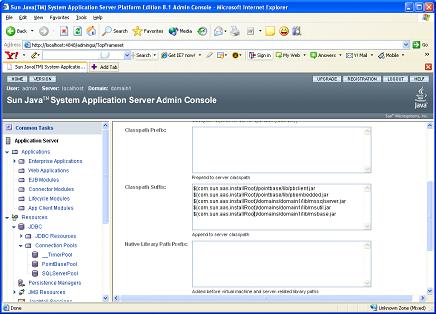
- Click the Save button
- Restart the Server
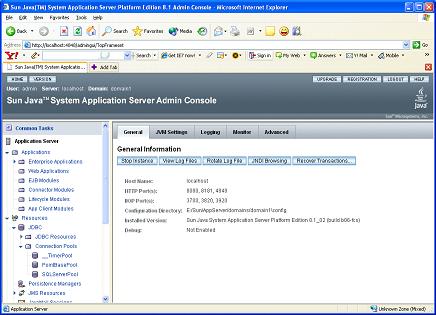
- Enter http://localhost:4848/asadmin in the address bar to open the Application Server Admin Console dialog box, and enter the User Name and Password
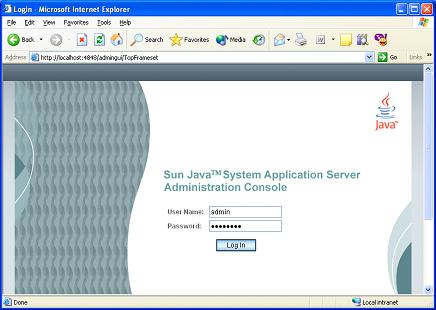
- Click the Log In button to open the Application Server Admin Console General Information dialog box
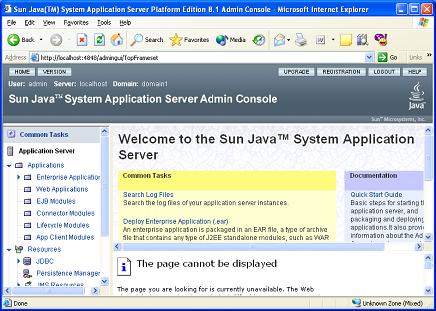
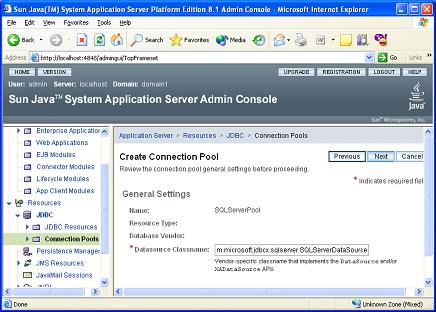
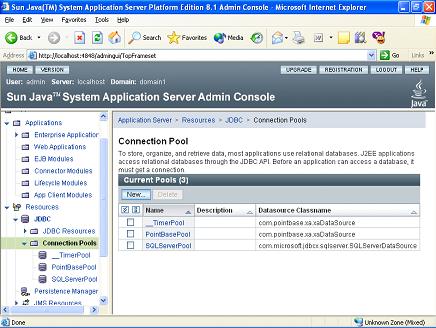
- Select the JDBC->Connection Pools option in the left pane to open the Application Server Admin Console Connection Pools dialog box
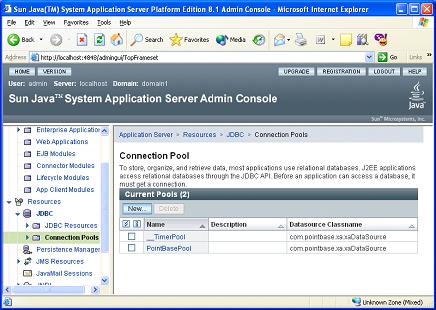
- Click the New button to open the Create JDBC Connection Pool: Enter connection pool name dialog box. Here, enter SQLServerPool in the Name text box and com.microsoft.jdbcx.sqlserver.SQLServerDataSource in the Datasource Classname text box
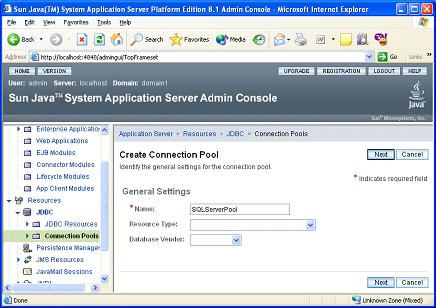
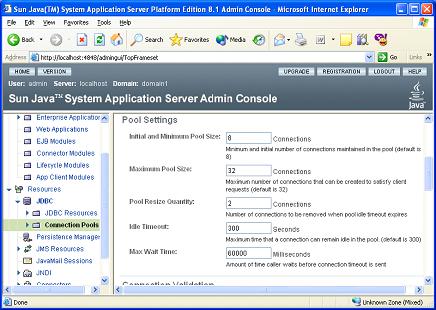
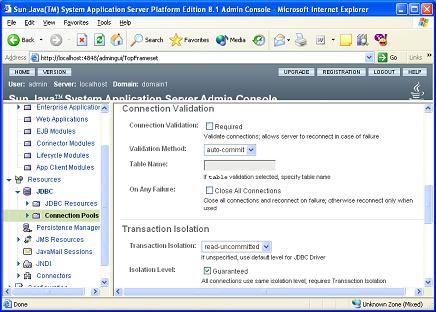
- Click the Next button, here in the Pool Settings session leave it as default values. In the Connection Validation session leave it as default. In the Transaction Isolation session select the read-uncommitted from the Transaction Isolation drop-down box. Also select the check box Guaranteed of the Isolation Level
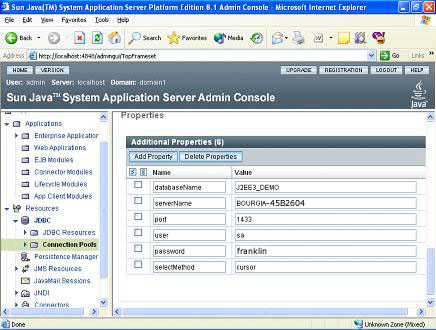
- In the Property session add the following details (Here, delete the networkProtocol, roleName, datasourceName properties and add selectMethod property)
|
databaseName | : J2EE3_DEMO (database name where the BMP entity bean table are to be stored) | |
serverName | : BOURGIA-46B2604 (CLICK HERE for server-name) | |
port | : 1433 | |
user | : sa | |
password | : ******** (CLICK HERE for password) | |
selectMethod | : cursor |
- Click the Finish button and then select the SQLServerPool in the right pane and then click the Ping button in the right side
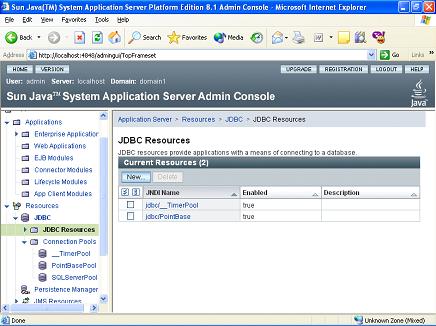
- Select the JDBC->JDBC Resources command in the left pane to open the Application Server Admin Console JDBC Resources dialog box
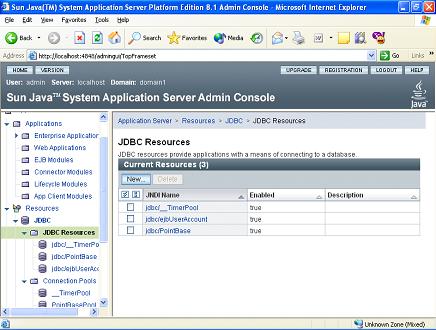
- Click the New button on the Create Resources pane. Here, enter the JNDI Name as jdbc/ejbUserAccount and Pool Name as SQLServerPool.
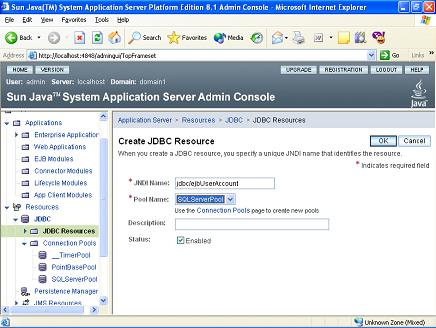
- Click the OK button
- Click the LOGOUT button at the top right side
|
|
|
Click for Next Topic
|
|
|