EJB Introduction
Program. Restrictions
Stateless Session Bean
Stateless ...(Example-1)
Stateful Session Bean
Stateful ... (Example-2)
Entity Beans
BMP Entity Beans
Config. DB (Example-3)
BMP (Example-4)
Bookmark This Site
|
Creating BMP Entity Beans - Project (Continue ...)
|
Introduction
|
-
To solve the preceding problem, perform the following tasks:
-
Configure a data source with the J2EE Application Server.
-
Create the BMP entity bean home interface.
-
Create the BMP entity bean remote interface.
-
Create the BMP enity bean class.
-
Create the Web Client.
-
Package the BMP entity bean.
-
Package the Web Client.
-
Deploy the application.
-
Test the application.
- Types of Enterprise Beans are
-
- Session Beans
- Stateless Session Beans
- Stateful Session Beans
- Entity Beans
- Bean Managed Persistent (BMP) Entity Beans
- Container Managed Persistent (CMP) Entity Beans
- Message-Driven Bean
CLICK HERE to download this complete example (zip file)
|
|
|
Steps to deploy and run this BMP Entity Bean - Project
|
- Write a java file and name it as UserAccountHome.java
- Write a java file and name it as UserAccount.java
- Write a java file and name it as UserAccountBean.java
- Write a java file and name it as UserAccountServlet.java
- Write a html file and name it as UserAccount.html
- Set the path in the command prompt
-
set path=.;D:\progra~1\java\j2sdk1.5.0\bin;D:\Sun\AppServer\bin;
-
Set classpath=.;D:\progra~1\java\j2sdk1.5.0\lib;D:\Sun\AppServer\lib\j2ee.jar;
(OR)
Set the path in the system itself. CLICK HERE for details
-
Now compile the UserAccountHome.java, UserAccount.java, UserAccountBean.java, UserAccountServlet.java. CLICK HERE to see how to compile
-
After the java programs are compiled successfully, you can close the command prompt.
- Now goto Start -> Programs -> Sun Microsystems ->Application Server PE -> Start Default Server (wait till it start and then press any key). CLICK HERE to see how to Start the Server
- You need to configure datasource with server before deploying. If already configured with server then no need to do again. CLICK HERE to see how to configure datasource with Application Server
-
Next goto Start -> Programs -> Sun Microsystems ->Application Server PE -> Deploytool. CLICK HERE to see how to Start the Deploytool
Now in the deploytool,
- Goto File ->New -> Application
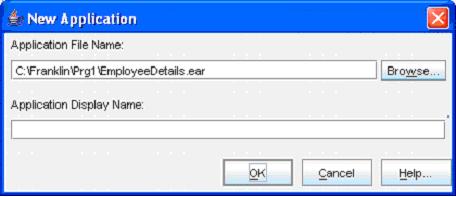
(Click the Browse button)
-
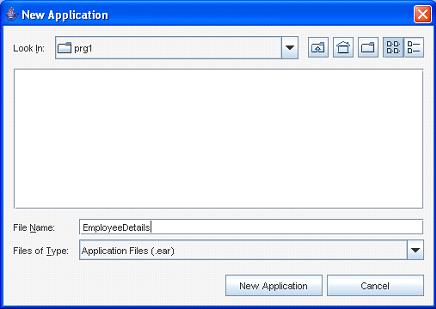
(Select the folder in the Look In dropdown box, and then give a File Name as ejb3. Next click the New Application button)
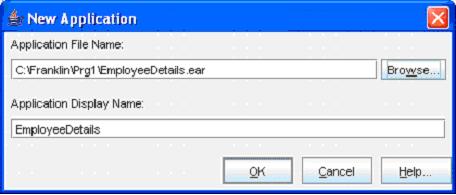
(Click the OK button)- Now goto File -> Save to save the file
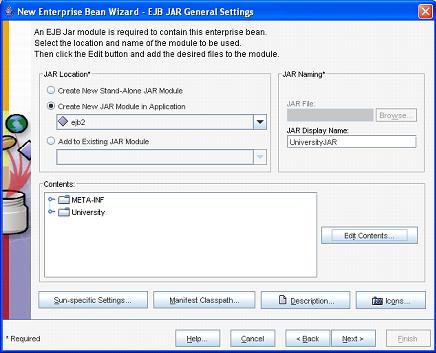
- Select File->New->Enterprise Bean
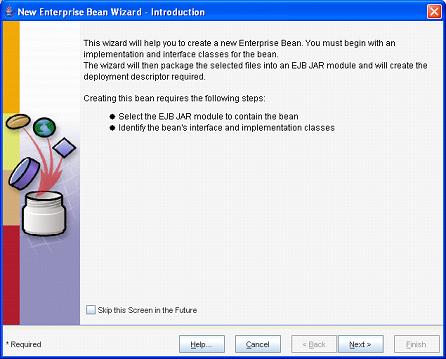
- Click the Next button

- Now click the Edit button
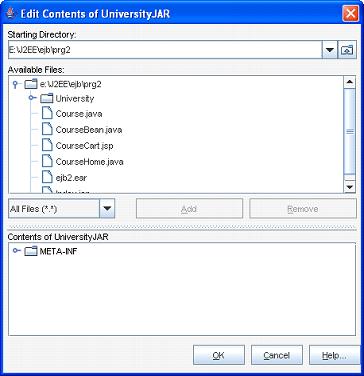
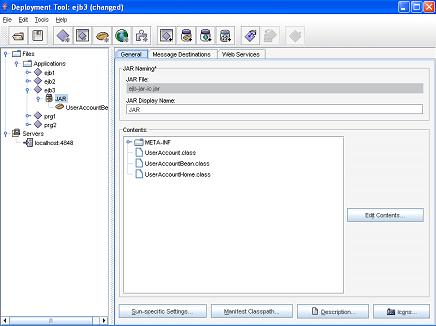
- Now select the UserAccount.class, UserAccountBean.class, UserAccountHome.class and click the Add button
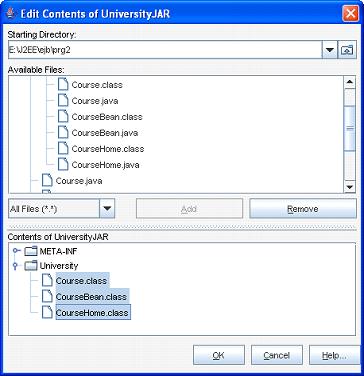
- Now click the OK button
- Now click the Next button
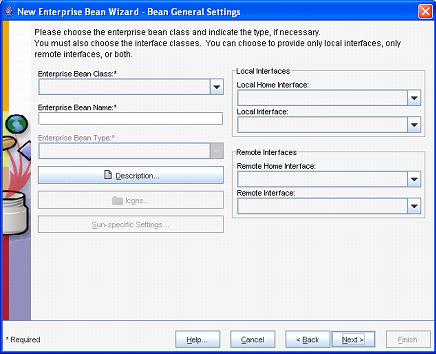
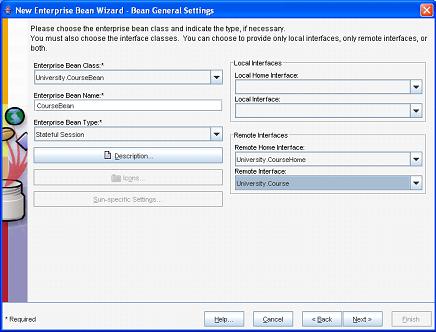
- Now select UserAccountBean from the Enterprise Bean Class drop-down box. Select Entity from the Enterprise Bean Type drop-down box. Select UserAccountHome from the Remote Home Interface drop-down box. Select the UserAccount from the Remote Interface
- Now click the Next button
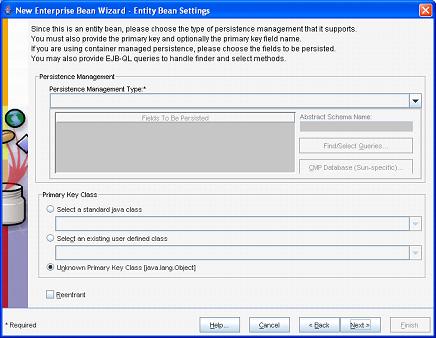
- Now select the Bean-Management Persistence from the Persistence-Management Type drop-down box. Also select the java.lang.String from the Select a standard java class option in the Primary Key Class pane
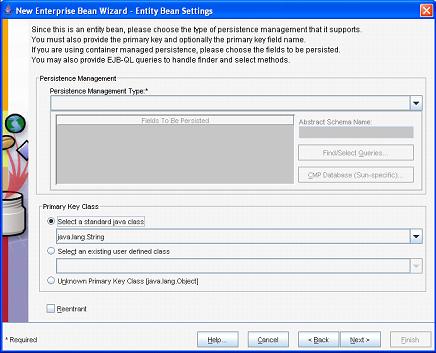
- Click the Next button

- Click the Finish button
|
|
|
Click Next To Continue ...
|
|
|