EJB Introduction
Program. Restrictions
Stateless Session Bean
Stateless ...(Example-1)
Stateful Session Bean
Stateful ... (Example-2)
Entity Beans
BMP Entity Beans
Config. DB (Example-3)
BMP (Example-4)
Bookmark This Site
|
Creating BMP Entity Beans - Project (Continue ...)
|
Introduction
|
-
To solve the preceding problem, perform the following tasks:
-
Configure a data source with the J2EE Application Server.
-
Create the BMP entity bean home interface.
-
Create the BMP entity bean remote interface.
-
Create the BMP enity bean class.
-
Create the Web Client.
-
Package the BMP entity bean.
-
Package the Web Client.
-
Deploy the application.
-
Test the application.
- Types of Enterprise Beans are
-
- Session Beans
- Stateless Session Beans
- Stateful Session Beans
- Entity Beans
- Bean Managed Persistent (BMP) Entity Beans
- Container Managed Persistent (CMP) Entity Beans
- Message-Driven Bean
CLICK HERE to download this complete example (zip file)
|
|
|
Steps to deploy and run this BMP Entity Bean - Project (Continue ...)
|
- Select the UserAccountBean in the left pane and select the Resource Refs tab in the right pane
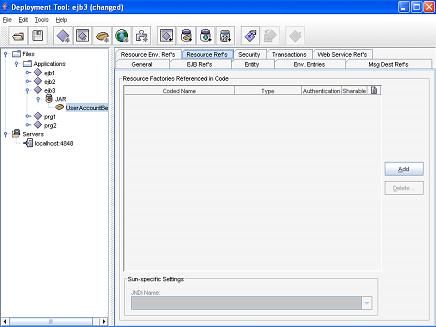
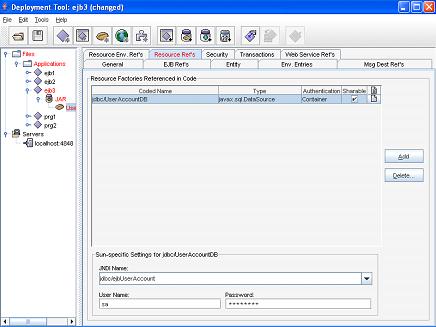
- Now, click the Add button to add Resource Factories Referenced in Code. Here, enter jdbc/UserAccountDB in the Coded Name. Next select the jdbc/ejbUserAccount in the JNDI Name drop-down box and User Name as sa and Password as ***** (if password is given while installing the Microsoft SQL Server) (CLICK HERE for password)
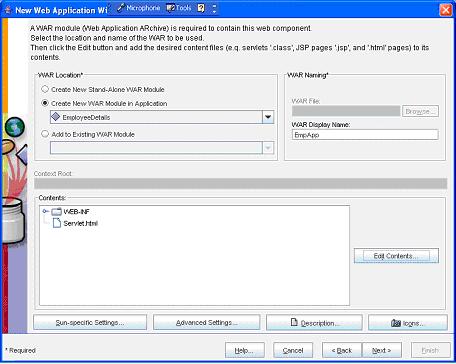
- Next, goto File -> New -> Web Component
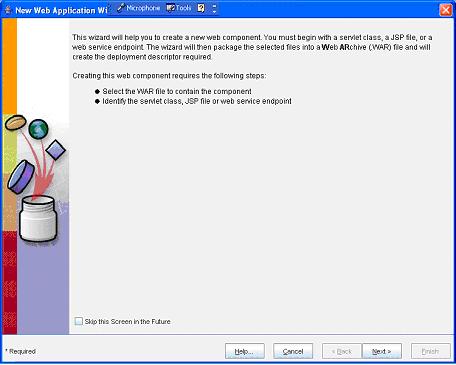
(Click Next button)
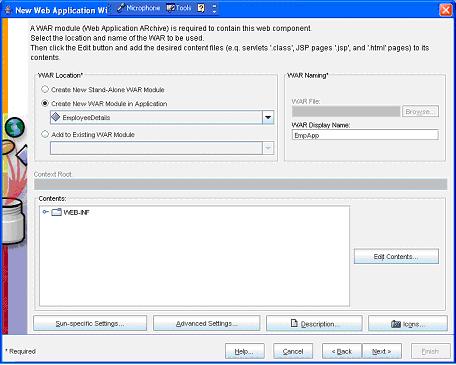
(Enter the WAR Name as BmpApp and then click the Edit Contents
button)

(Select the UserAccountServlet.class and UserAccount.html files and click the Add button)
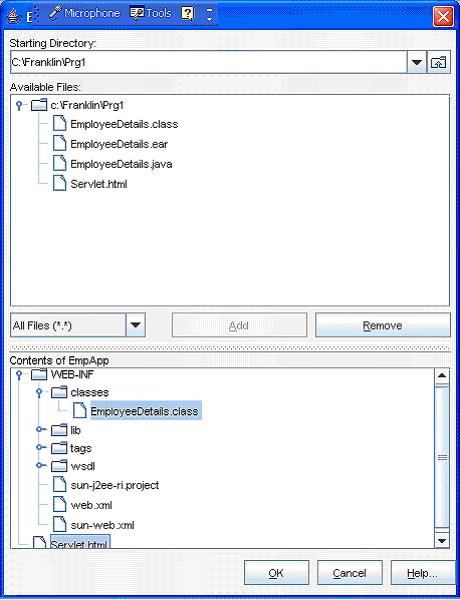
(Now click the OK button)
(Now click the Next button)
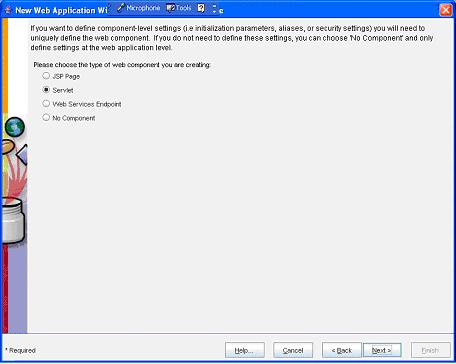
(Now select the Servlet option button and then click the Next button)
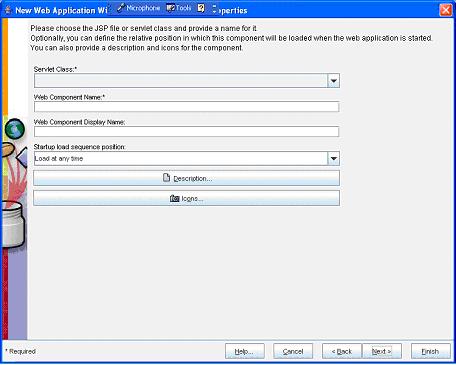
(Now select the UserAccountServlet from the Servlet Class dropdown box)
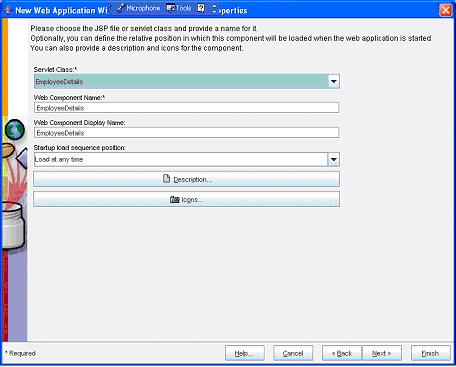
(Now select the Next button)
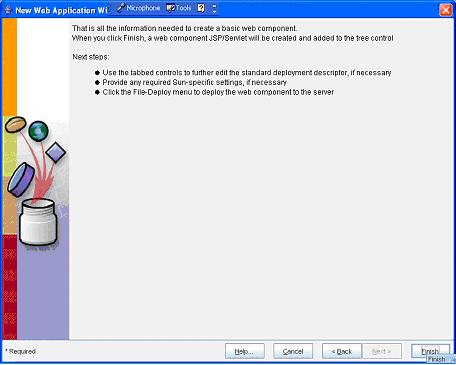
(Now select the Finish button)
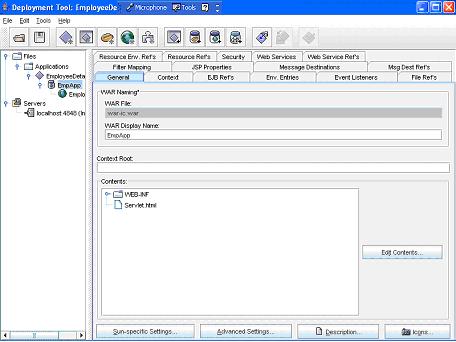
(Now select the BmpApp in the left pane and select the General tab in the right pane. Here give a name BMPAccountctx in the Context Root text box)- Now select the ejb3 in the left pane and then select the Aliases tab in the right pane. Next, click the Add button and add the Aliases name as servlet/UserAccountServlet
- Now select the BmpApp in the left pane and then select the General tab
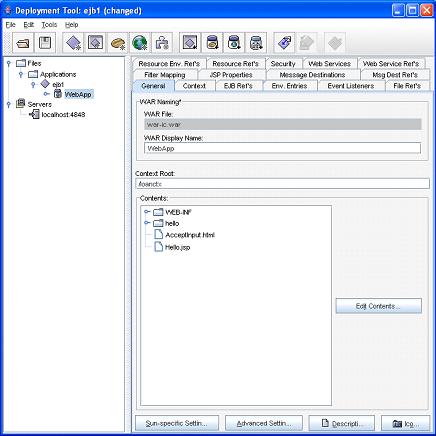
( Now press Alt+S or Sun-specific Settin
button )
- Now a Sun-specific Settings dialog box will open
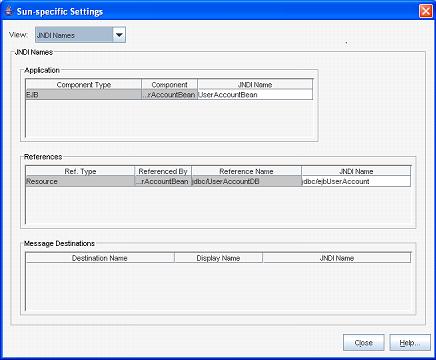
- Now from the View drop-down box select JNDI Names and then in the Application pane enter the name as SimpleUserAccount in the JNDI Name tab
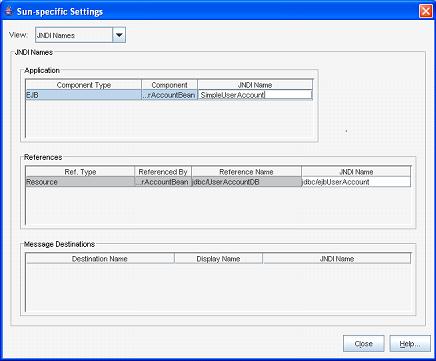
- Next, click the Close button
- Now goto File ->Save
- Next goto Tools -> Deployee
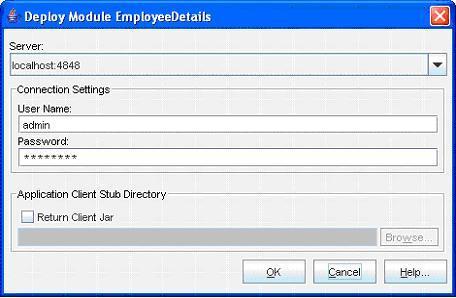
(Enter the User Name as admin and Password as password (CLICK HERE for password). Next click the OK button)
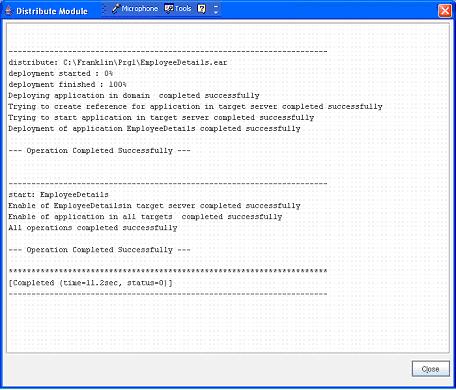
(Now a message --- Operation Completed Successfully --- must display. Next click the Close button)- Next goto File -> Exit to close it
- Now open the SQL Query Analyzer and type the following query
-
create database J2EE_DEMO
- use J2EE_DEMO
- create table useraccount(id varchar(20), name varchar(20), address varchar(20), phoneno varchar(20))
Note: Here, while creating useraccount table first give the id varchar(20) because it is given as the findByPrimaryKey(String id){
} in the Remote Interface
- Now open the Internet Explorer and type http://localhost:8080/BMPAccountctx/UserAccount.html in the address bar. Type the data in the required fields and click the SUBMIT button
- Now open the SQL Query Analyzer and type the following query, now you can see the data added in the database
- use J2EE_DEMO
- select * from useraccount
- Program completed successfully
- To stop the server goto Start -> All Programs -> Sun Microsystems -> Application Server PE -> Stop Default Server. CLICK HERE to see how to Stop the Server
|
|
|
Click for Next Topic
|
|
|