Servlet Introduction
Servlet (Example-1)
Life Cycle Events
Con.Ini.Par.(Example-2)
Lif.Cyc.Evt.(Example-3)
Err. & Exce.(Example-4)
Filters (Example-5)
Servlet Hints
Bookmark This Site
|
Introduction to Java Servlet (Example Program) (Continue...)
|
Introduction
|
Java Servlet is the one of the most important Java technologies. It is the simplest model to build a complete Java J2EE Web Application. Furthermore, even for complex J2EE Web Application that uses Struts, Spring, EJB and etc, they are still using Servlet for certain purposes such as Servlet Filter, Listener and etc. Thus, it is just a good idea for you to have well-built understanding of Java Servlet. Prior reading this tutorial, it would be excellent if you have mastered the basic Java programming languages.
Servelet Example is give below with complete steps with screen-shots
CLICK HERE to download this complete example (zip file)
|
|
|
Package the Servlet into a J2EE Application (Continue...)
|
-
-
Next goto Start -> Programs -> Sun Microsystems ->Application Server PE -> Deploytool. CLICK HERE to see how to Start the Deploytool
Now in the deploytool,
- Goto File ->New -> Application
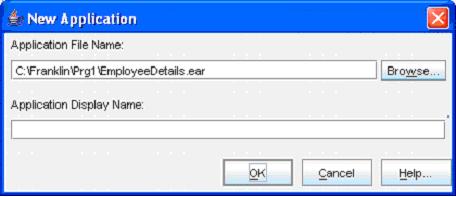
(Click the Browse button)
-
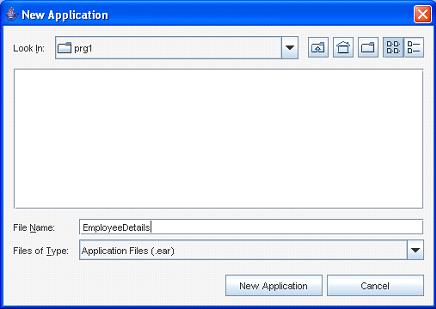
(Select the folder in the Look In dropdown box, and then give a file name EmployeeDetails. Next click the New Application button)
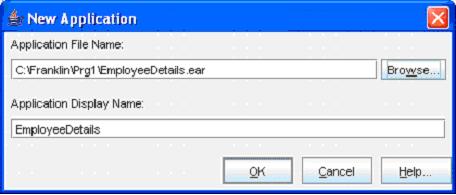
(Click the OK button)- Now goto File -> Save to save the file
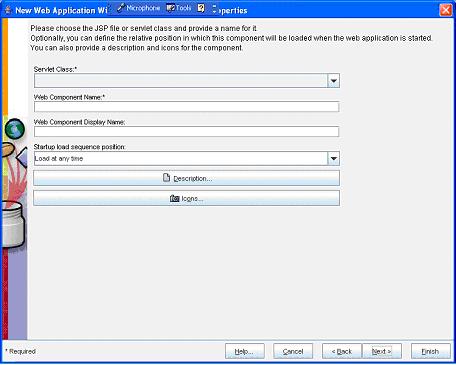
- Next, goto File -> New -> Web Component
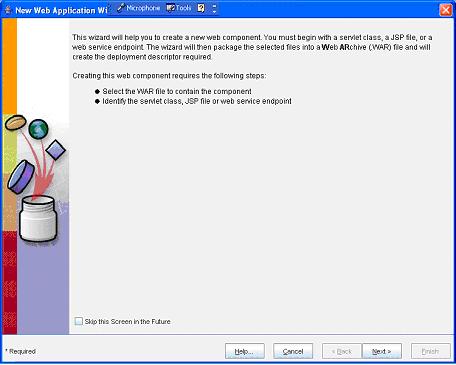
(Click Next button)
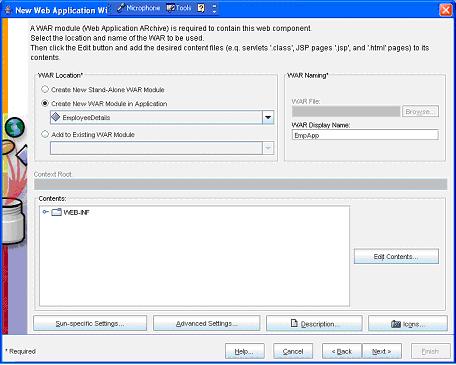
(Enter the WAR Name as EmpApp and then click the Edit Contents
button)

(Select all the .class, .jsp , .tld and .html files and click the Add button)
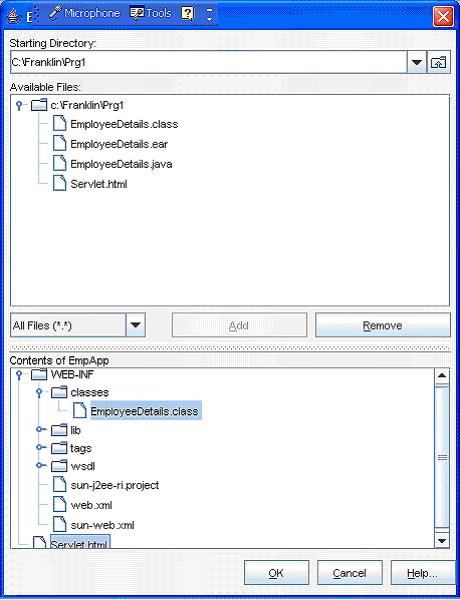
(Now click the OK button)
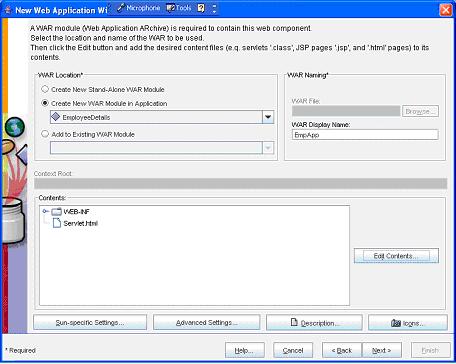
(Now click the Next button)
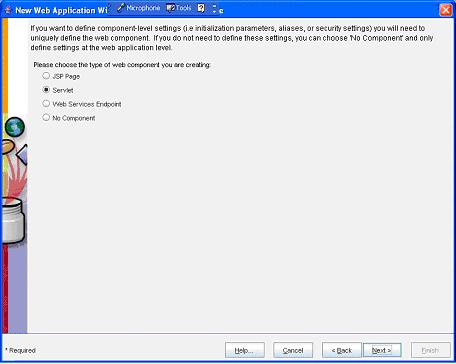
(Now select the Servlet option button and then click the Next button)
(Now select the EmployeeDetails from the Servlet Class dropdown box)
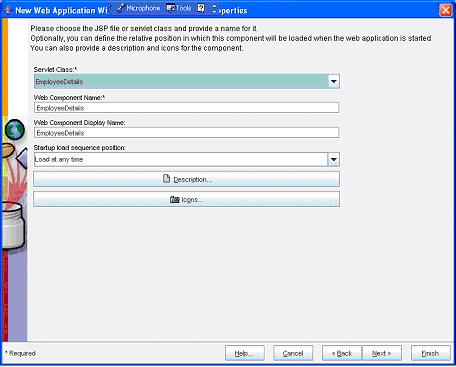
(Now select the Next button)
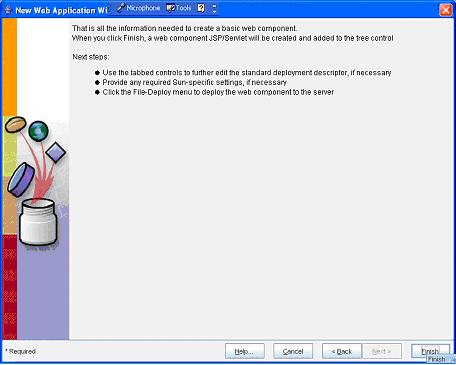
(Now select the Finish button)
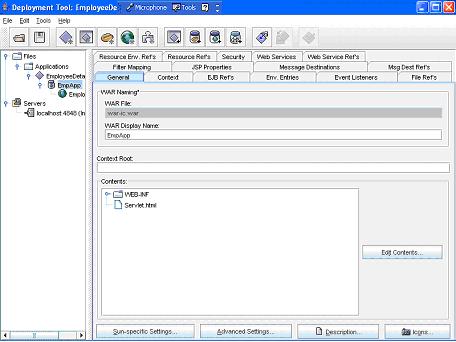
(Now select the EmpApp in the left pane and select the General tab in the right pane. Here give a name emp_details in the Context Root text box)- Next select the EmployeeDetails in the left side
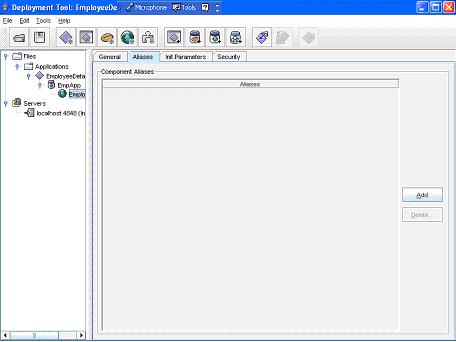
(Now select the EmployeeDetails in the left pane and then select the Aliases tab in the right pane. Next select the Add button)

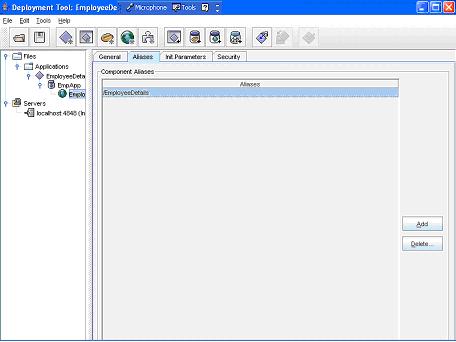
(Now add a name as EmployeeDetails)
 - Now goto File ->Save
- Next goto Tools -> Deployee
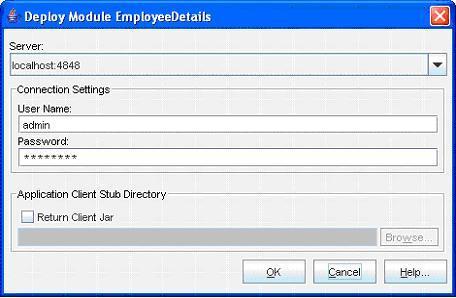
(Enter the User Name as admin and Password as password (CLICK HERE for password). Next click the OK button)
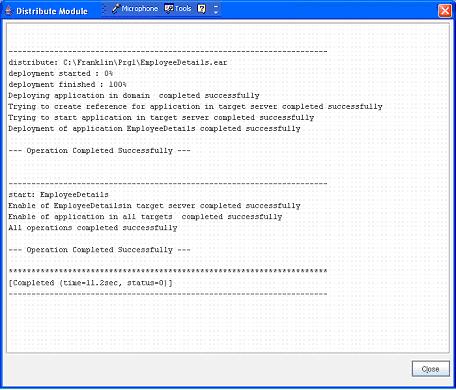
(Now a message --- Operation Completed Successfully --- must display. Next click the Close button)- Next goto File -> Exit to close it
|
|
|
Click Next To Continue ...
|
|
|